Table of Contents
After deploying EagleEye, you may want to change which email group is being scanned. This guide walks you through finding the correct place in Azure, updating the environment variable, and verifying everything works.
If you haven’t set this up before, refer to the initial setup guide:
Prerequisites
- Access to the Azure Portal
- Permissions to modify the deployed EagleEye resources
- A valid email group name to switch to
Step 1: Open the Top-Level Resource Group
Navigate to the Azure Portal and locate the resource group used for your EagleEye deployment.
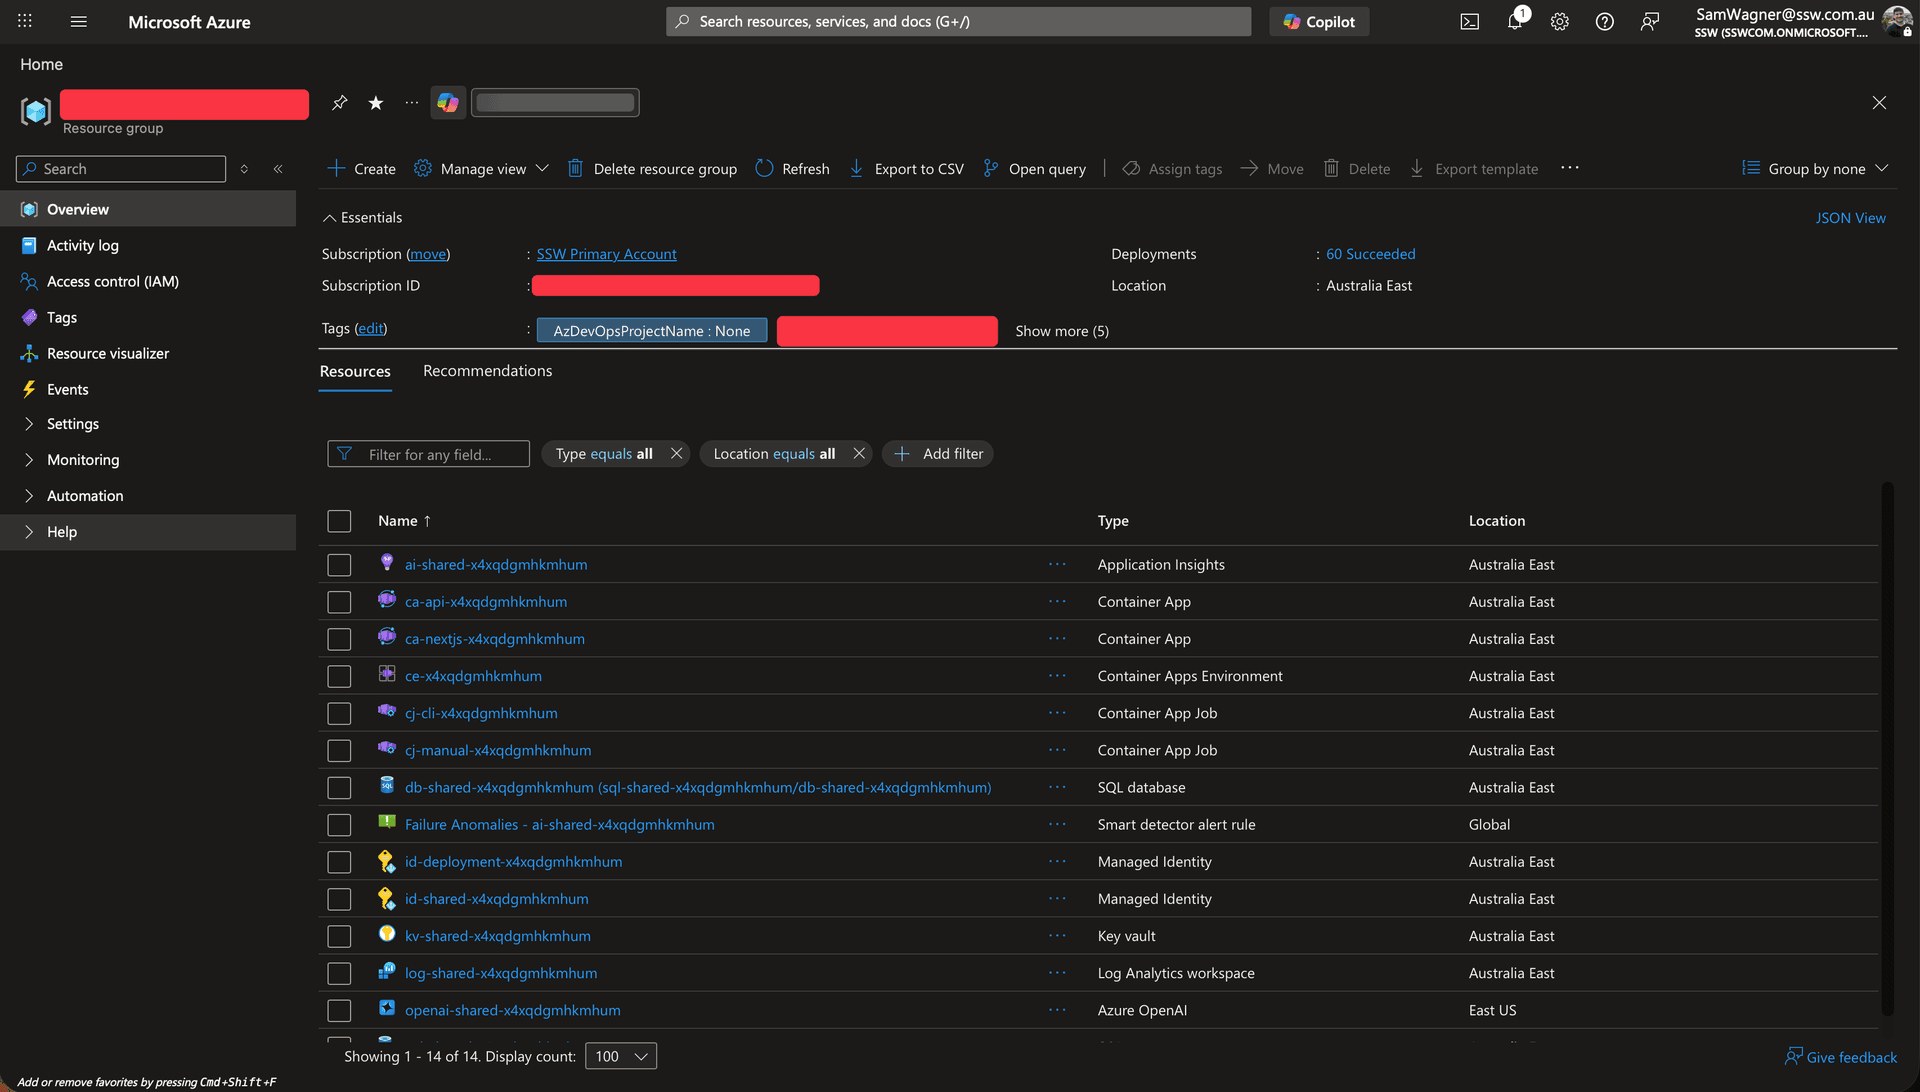
Figure: Azure | EagleEye Resource Group
Step 2: Open the API Container
Inside the resource group:
- Locate the EagleEye API container (usually named something like api or similar)
- Click into it
 Figure: Azure | API Container
Step 3: Open the Container Configuration
Inside the API container:
- Navigate to Settings
- Open Environment Variables (or Configuration, depending on UI)
 Figure: Azure | API Container | Containers
Step 4: Update the Email Group Environment Variable
Find the environment variable that controls the email group.
- This will typically look like:
or something similar depending on your setup.
- Update the value to the new group name
- Save the changes
 Figure: Azure | API Container | Containers | Azure_GroupName Environment Variable
Step 5: Find Available Group Names (If Needed)
If you’re unsure what value to use:
- Check your Azure AD / Entra ID groups
- Or refer back to the initial setup guide
- Or query via Microsoft Graph / CLI if you’re doing this programmatically
Make sure:
* The group exists
* EagleEye has permission to read it
Step 6: Restart the API
After updating the environment variable:
- Go back to the API container overview
- Restart the container
This ensures the new configuration is picked up.
Step 7: Verify It’s Working
Test the change:
- Trigger a scan (if manual trigger exists)
- Check logs for:
- Successful group resolution
- Emails being processed
- Confirm expected emails are being scanned
Common Pitfalls
- Wrong group name
- Double-check spelling and casing
- Permissions missing
- Ensure the app registration has access to the group
- Forgot to restart container
- Changes won’t apply until restart